One Kit, Two Cards, So Many Options!
by Erica Andersson September 28, 2026

Key Takeaways
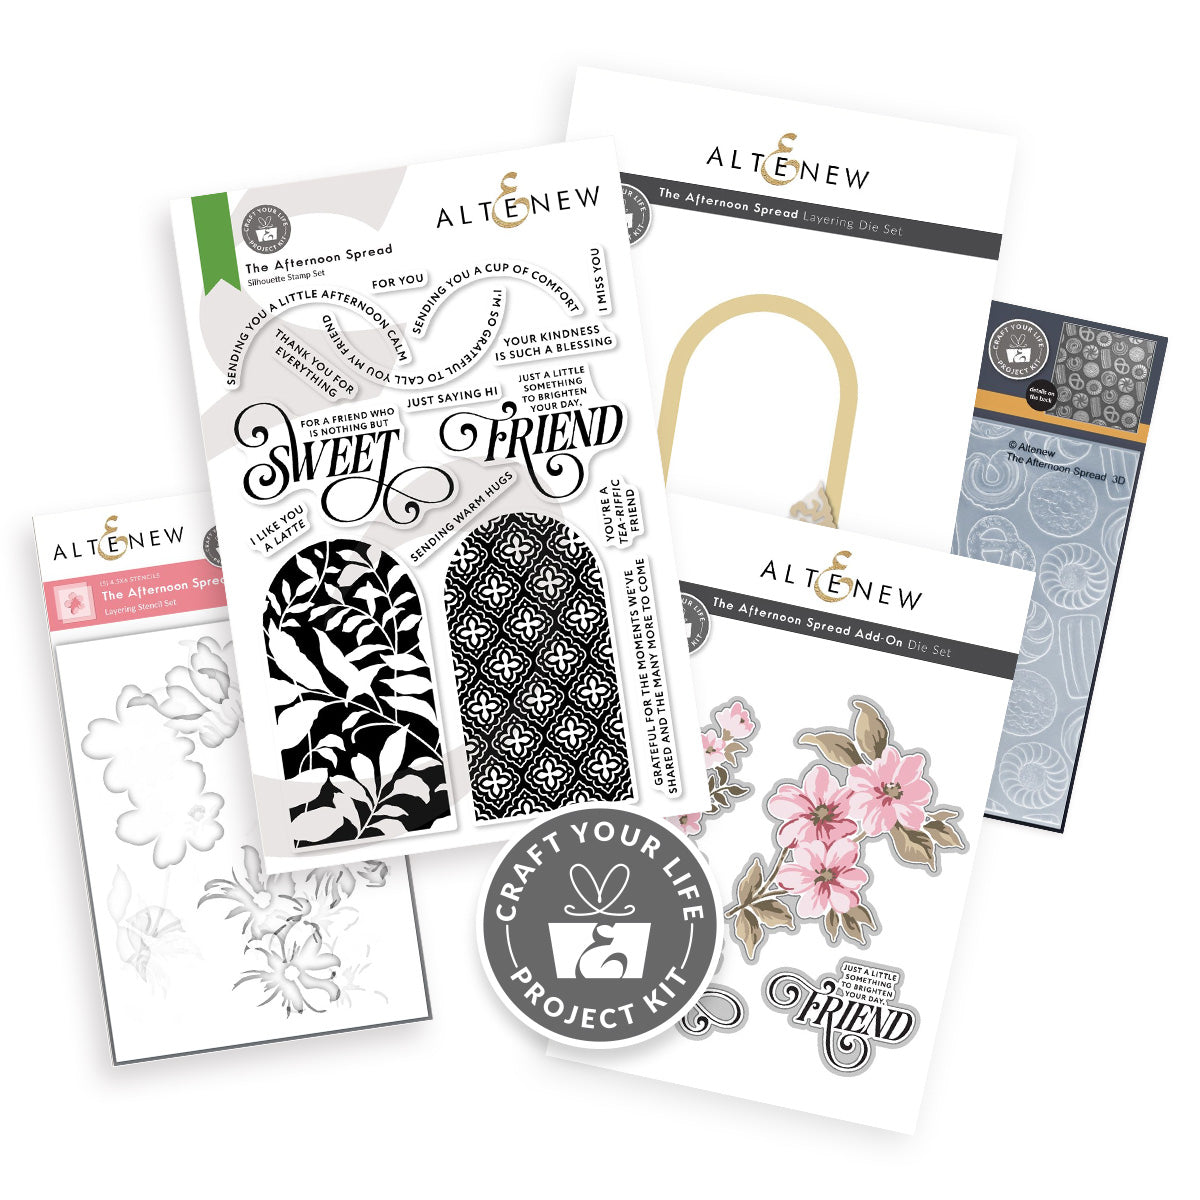
Maximum Versatility: A single Craft Your Life Project Kit provides all coordinating stamps, dies, stencils, and embossing folders needed to create multiple distinct card designs.
Cohesive Seasonal Palette: Using a consistent color scheme—such as warm fall yellows, oranges, and brushed gold—helps unify different card styles across a single crafting session.
Clever Supply Recycling: Leftover die-cuts (like a white metallic inlay arch) can easily be repurposed onto a second card to minimize waste and frame sentiments cleanly.
Texture & Dimension: Combining 3D embossing, texture paste (like Shimmer Relief Paste), and stacked sentiment die-cuts creates professional depth without overwhelming the layout.
Hello, hello my fellow crafting and afternoon spread fans! I sure hope you are in the mood to explore the Craft Your Life Project Kit: The Afternoon Spread and its matching add-ons today. Every day is a good day for a few quiet moments with a hot or cold drink, some deep breaths, and a quick creative reset, isn't it? And why not make it a crafty one?


I really enjoy the Craft Your Life Project Kits because there is truly something for every single paper crafter out there—there is such a fantastic spread of themes and styles. If you browse through the collection, I am certain you will find at least one kit that grabs your attention. Apart from coming with a handy storage pocket, one of my favorite features is how seamlessly all the products coordinate, while still being versatile enough to stand on their own. That kind of value and flexibility gives you a lot of bang for your buck, which is always a huge plus in cardmaking.

As we head into autumn, I naturally reach for warmer hues like rich yellow, orange, and gold. I selected that exact autumn palette for the two handmade cards I am sharing today. All of the supplies—including the exact Crafty Necessities Colored Cardstock shades—are linked at the bottom of this post if you would like to replicate these designs or borrow the color scheme for your own projects.
Step-by-Step Die-Cutting and Piece Preparation
I love preparing all of my die-cut elements before I begin assembling a card layout, unless I already have a strict design plan in mind. While batch die-cutting can take a little time, putting all the layered pieces together to watch your focal points come to life is where the fun begins.
The paper cup dies in The Afternoon Spread kit are absolutely adorable, and I have made countless die-cut cups with them already. As a collector of colorful Le Creuset espresso cups, my personal collection served as the primary color inspiration for these paper versions.
The kit features two distinct cup shapes, which you can easily customize by ink blending or stamping patterns directly onto the paper. For today's cards, I used two warm yellow cardstock shades: Sunkissed and Lemonade Stand. To give each card its own character, I swapped the layering order on the second cup and added a touch of sparkle by cutting the decorative top layer from Citrine Glitter Cardstock.

One Kit, Two Unique Card Designs
One of my favorite creative challenges when working with cardmaking kits is finding ways to make each design look distinct while using the same core set of supplies. It forces me to think outside the box: How else can I use this die or stencil beyond the obvious arrangement?

Card 1: Stenciling with Shimmer Paste and Metallic Accents
For the first card, I created a bright floral sprig using the included layering stencils alongside warm yellow and orange dye inks. On the final stencil layer, I applied Enchanted Gold Shimmer Relief Paste to add raised texture and shine.
To mirror the gold details in the stenciling, I die-cut a focal arch out of Brushed Gold Metallic Cardstock using the standalone arch die from the kit.

Card 2: 3D Embossing and Inverted Color Schemes
For the second card, I ran a panel of plain white cardstock through my die-cutting machine using the 3D Embossing Folder, then softly ink-blended the same yellow and orange shades over the raised impression. Using identical ink colors on an embossed background creates a completely different visual texture while maintaining full color harmony between both cards.

Stamping and Layering Card Sentiments
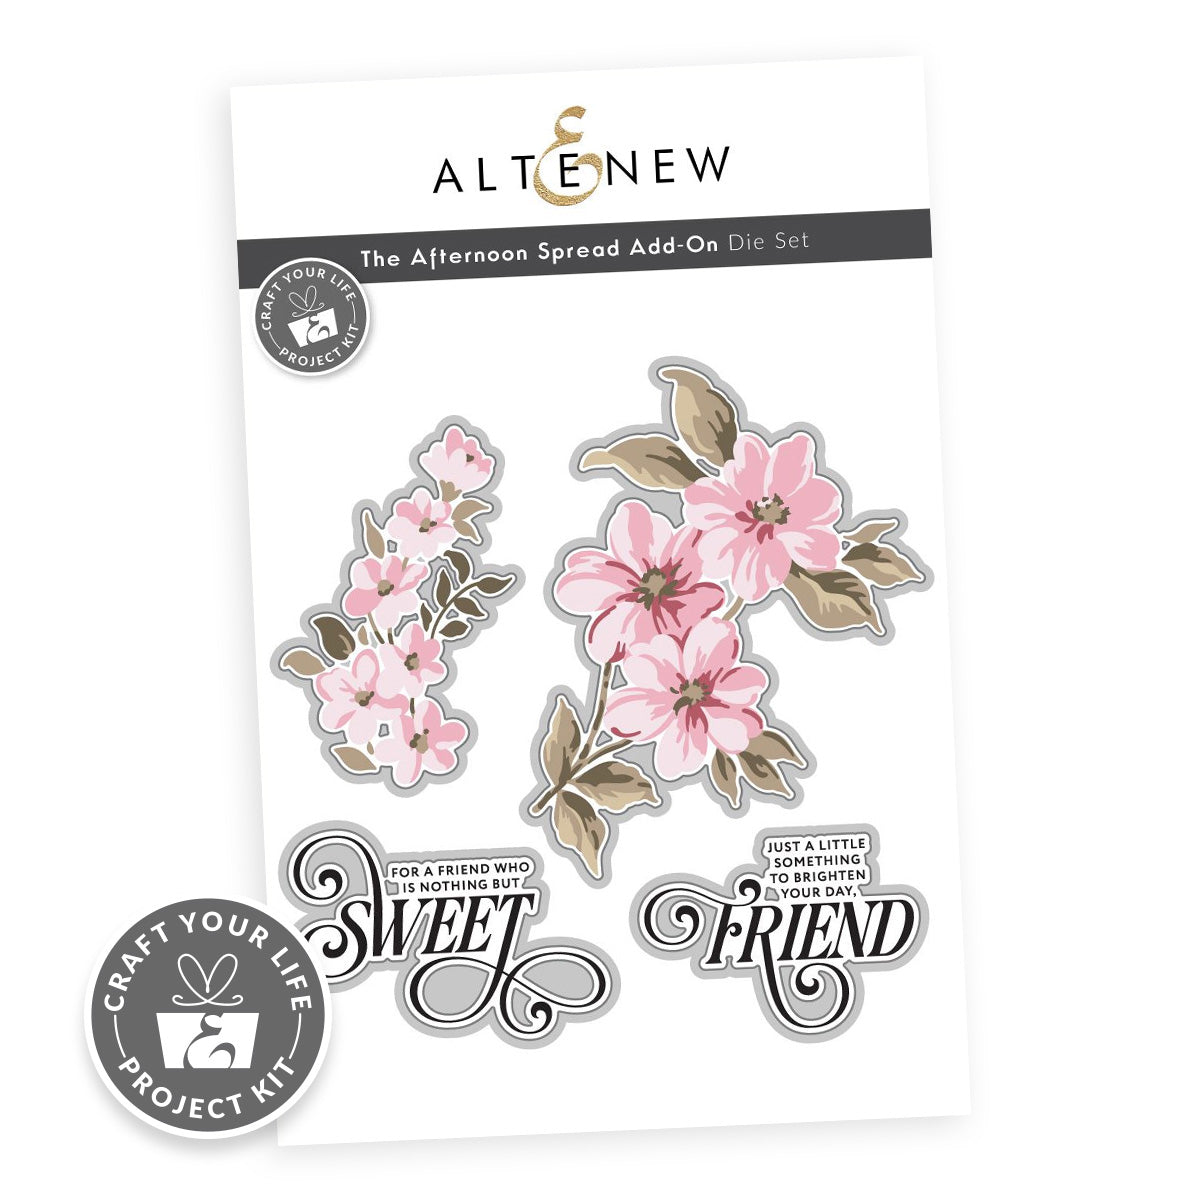
For the greetings, I chose two large sentiments from the kit's clear stamp set. I highly recommend picking up the coordinating die-cuts available in the Add-On Die Set to make popping up your sentiments quick and easy.
I stamped both greetings using Gravel Fresh Dye Ink from the Tranquil Reflections bundle. A charcoal gray ink provides a softer, more elegant contrast against warm autumn tones than a harsh solid black. To build extra height and stability, I stacked each sentiment on top of two additional blank cardstock die-cuts before adhering them to the card fronts.
Adding Finishing Touches and Repurposing Leftovers
Working with large areas of clean white space can sometimes feel intimidating. When a background feels too plain, adding metallic or glitter accents is an easy way to balance the design without cluttering it.
On the first card, I die-cut the standalone arch directly out of the white background panel and inlaid a matching Brushed Gold Metallic arch in its place. That small inlay detail made a huge difference in grounding the design.
Instead of discarding the white cardstock arch leftover from that inlay technique, I repurposed it on the second card. Layering that white arch over the ink-blended 3D embossed background helped frame the sentiment and gave the colorful stacked cups a grounded place to sit.
Maximize Your Cardmaking Kits Today!
Working with a complete card kit allows you to stretch your creative skills by challenging yourself with a curated selection of stamps, dies, and stencils.
These two designs are just a starting point. If you would like to see three additional card layouts made with this same kit, be sure to check out the step-by-step video tutorial over on my personal YouTube channel.
I hope this post inspires you to look at your Craft Your Life Project Kits with fresh eyes and try new techniques with your supplies!
With love and light, sparkle and creativity,
Erica
|